by Rayna Dickson
Wanting to reduce your plastic consumption? You can make your own beeswax wraps that are reusable and renewable and keep your food fresh and safe. Great as handmade gifts and can be individualized with fabric choice, style and colour.
To make 4-6 medium (30 cm x 30 cm) size wraps you will need:
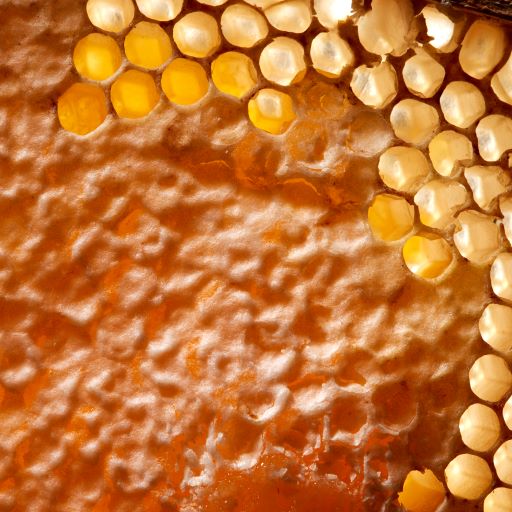
• 100g Beeswax – block or pellets. Try the beekeepers at Otago Farmers Market, Health Food stores or craft shops.
• 20g Pine or Damar Resin.
• 3 tsp Jojoba Oil or Coconut Oil (cheaper).
You can buy Resin and jojoba oil online through Pure Nature, Go Native NZ or Amazon!
• Cotton fabric – preferably organic, desired patterns and colours – pre-washed, dried and cut into your desired sizes. You can use pinking shears to stop edges from fraying looks nice but is not vital as the wax kind of seals the edges anyway.
Tools:
• Stainless bowl or jug – double-boiler with an old saucepan.
• Clean old wide paintbrush
• Newspapers
• Tinfoil or baking paper
• Oven and baking trays
• Pinking shears
• Grater
Method:
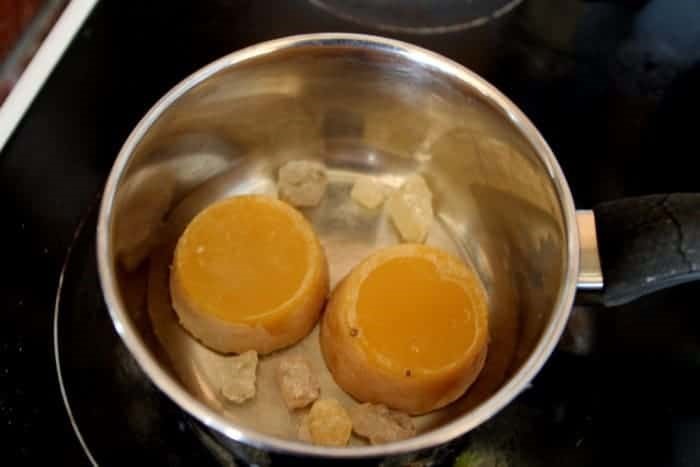
• Grate the beeswax and crush the resin
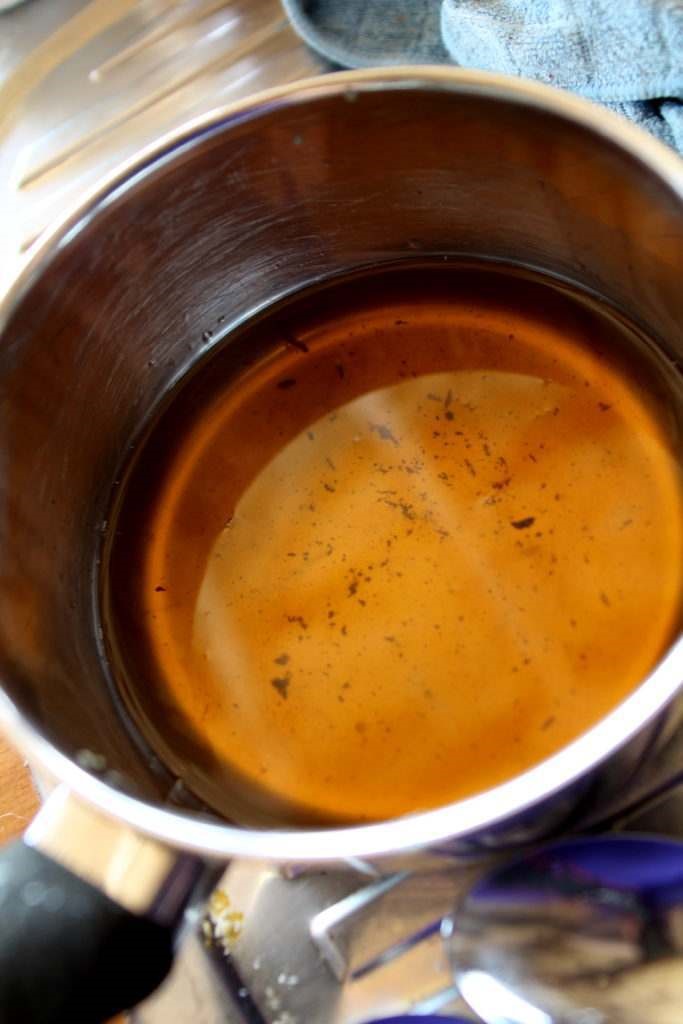
• Double boil the ingredients together till well combined – it may take a while!
• Cover your working surface with newspapers
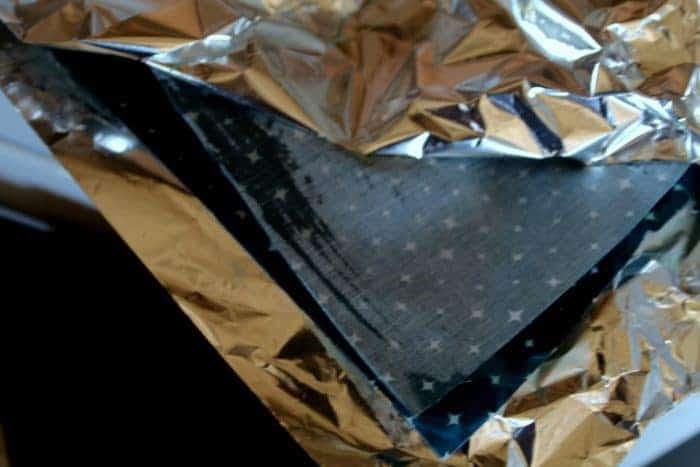
• Cover baking trays with tinfoil
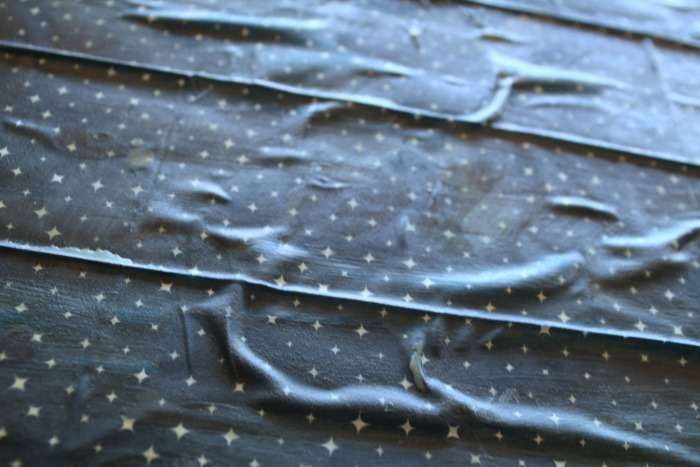
• Lay fabric on tinfoil and brush liberally with melted wax/resin mixture.
• Place in warm (150C) oven for 5-10 minutes, till wax has soaked through to back of fabric. Check and brush on more wax if needed.
• Hang to cool!
Alternatively, you can use an old iron to spread the wax between sheets of baking paper.
Care:
• Don’t use wraps with any raw meats.
• Wipe as needed with wet cloth after use OR
• Wash in cool/warm soapy water (not hot!)
• Hang to dry.
• When they lose their stickiness and freshness, wraps can be re-waxed using the same methods above.
There are lots of ‘do it yourself’ websites for making beeswax wraps and other sustainable living ideas but one of my favourite sites is our LOCAL Taieri homesteader, Dana on https://piwakawakavalley.co.nz/plastic-wrap-alternative-beeswax-wraps/. There’s lots of information there and a great YouTube video with step-by-step guide. Photos included here are credited to Dana.
